Admin Portal
Retraced can be accessed using Admin interface that allows you to manage Projects & Environments via UI. To enable the Admin Portal, make sure you deploy Retraced with Docker Compose
You can open the Admin Portal on port 5225.
Sign into Admin Portal
We use Magic Links to authenticate users to the UI.
You'll need to set the following configuration in the environment:
- SMTP Server details, so we can send you the email with the magic link.
- Access Control List which is an array of emails or glob patterns. Only these users will be allowed access to the Admin Portal. Example:
[email protected],*@marvel.com.
Follow the below steps to login into the Admin dashboard.
- Visit the path
/api/auth/signinon your app. The page will display a sign-in page with a text box to enter the email address. - Enter the email address that matches the
NEXTAUTH_ACLand click the button Sign in with Email. - Open the inbox and you'll see an email from Jackson.
- Open that email and click the button Sign in. Now you've successfully logged into the BoxyHQ Admin Portal.
- Click on the Audit Logs menu from the sidebar on the left to access the Retraced service.
Fresh Start
When you are setting up the Audit logs for the first time with Retraced, you won't have any Projects in the system or in case you run bootstrap script as a part of your deployment you will have dev project.
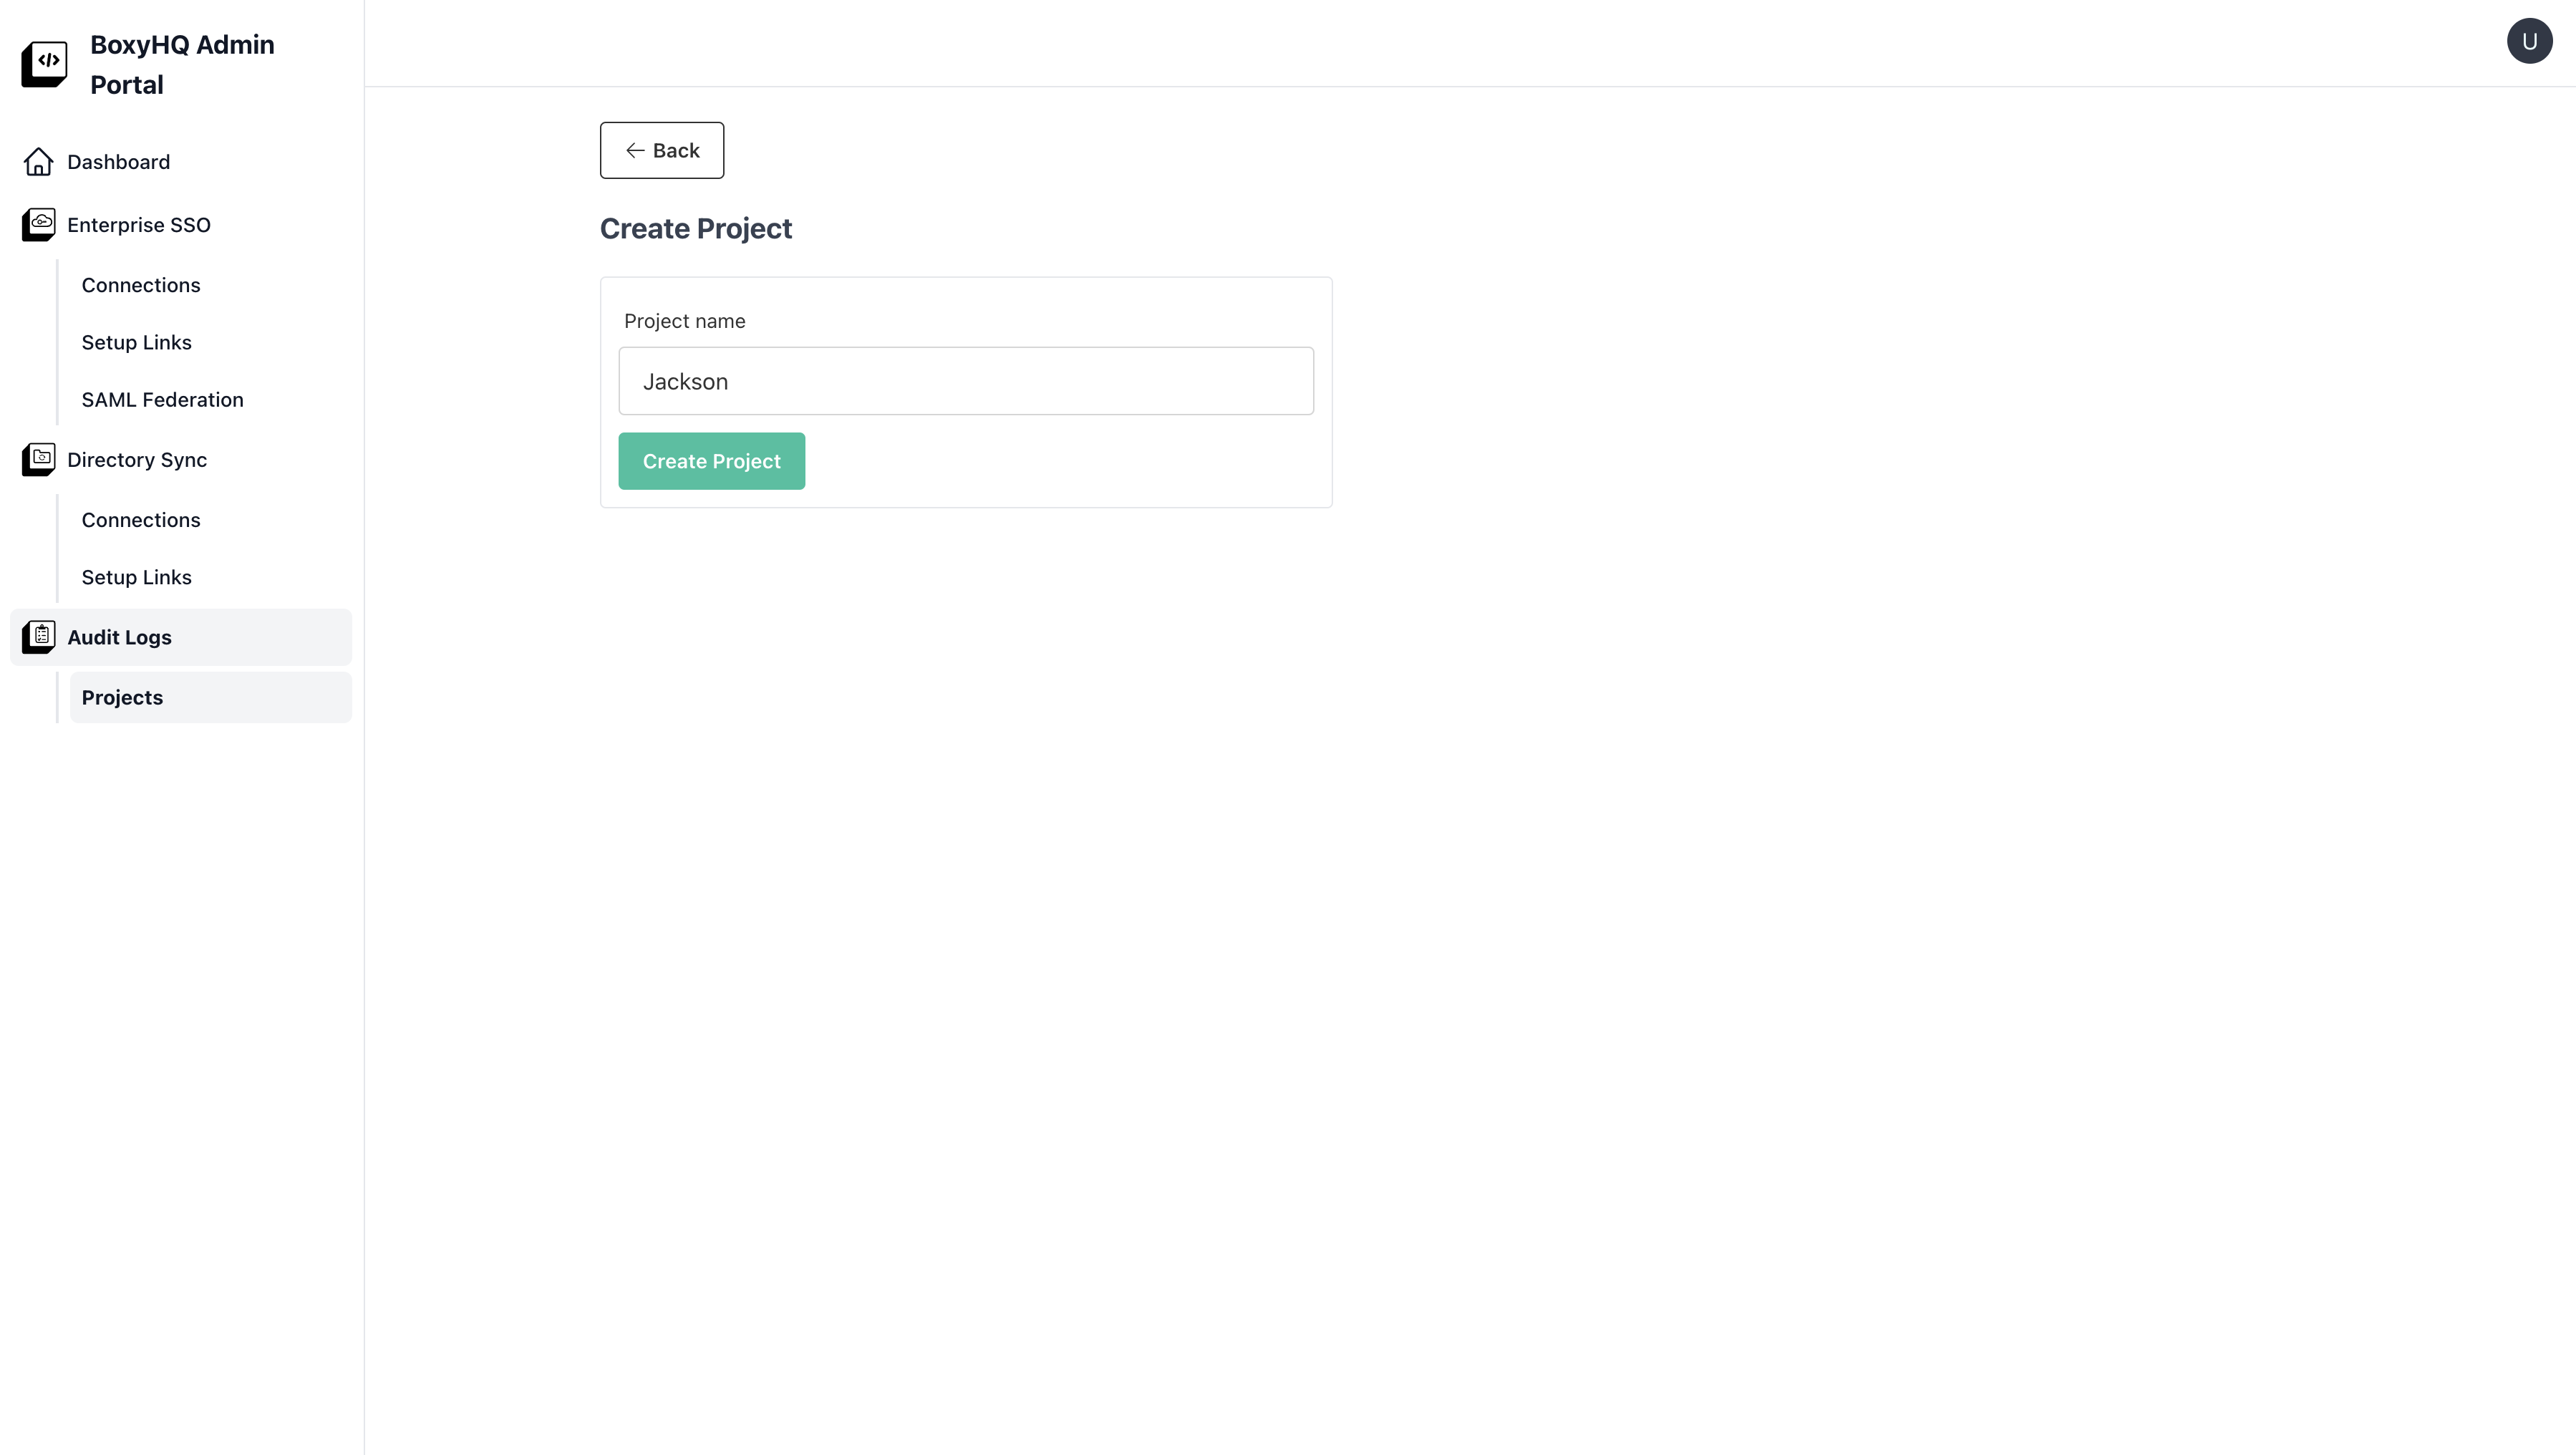
Create Project
Just click on Create Project or Add Project button to initiate new Project creation. You just need to enter the name of the project and click on Create Project button.
Project Information
You will get see the Project Information after the Project is created. This page shows,
- Project ID
- Production Token
- Staging Token
- Publisher API Base URL
- POST request URL to ingest your events
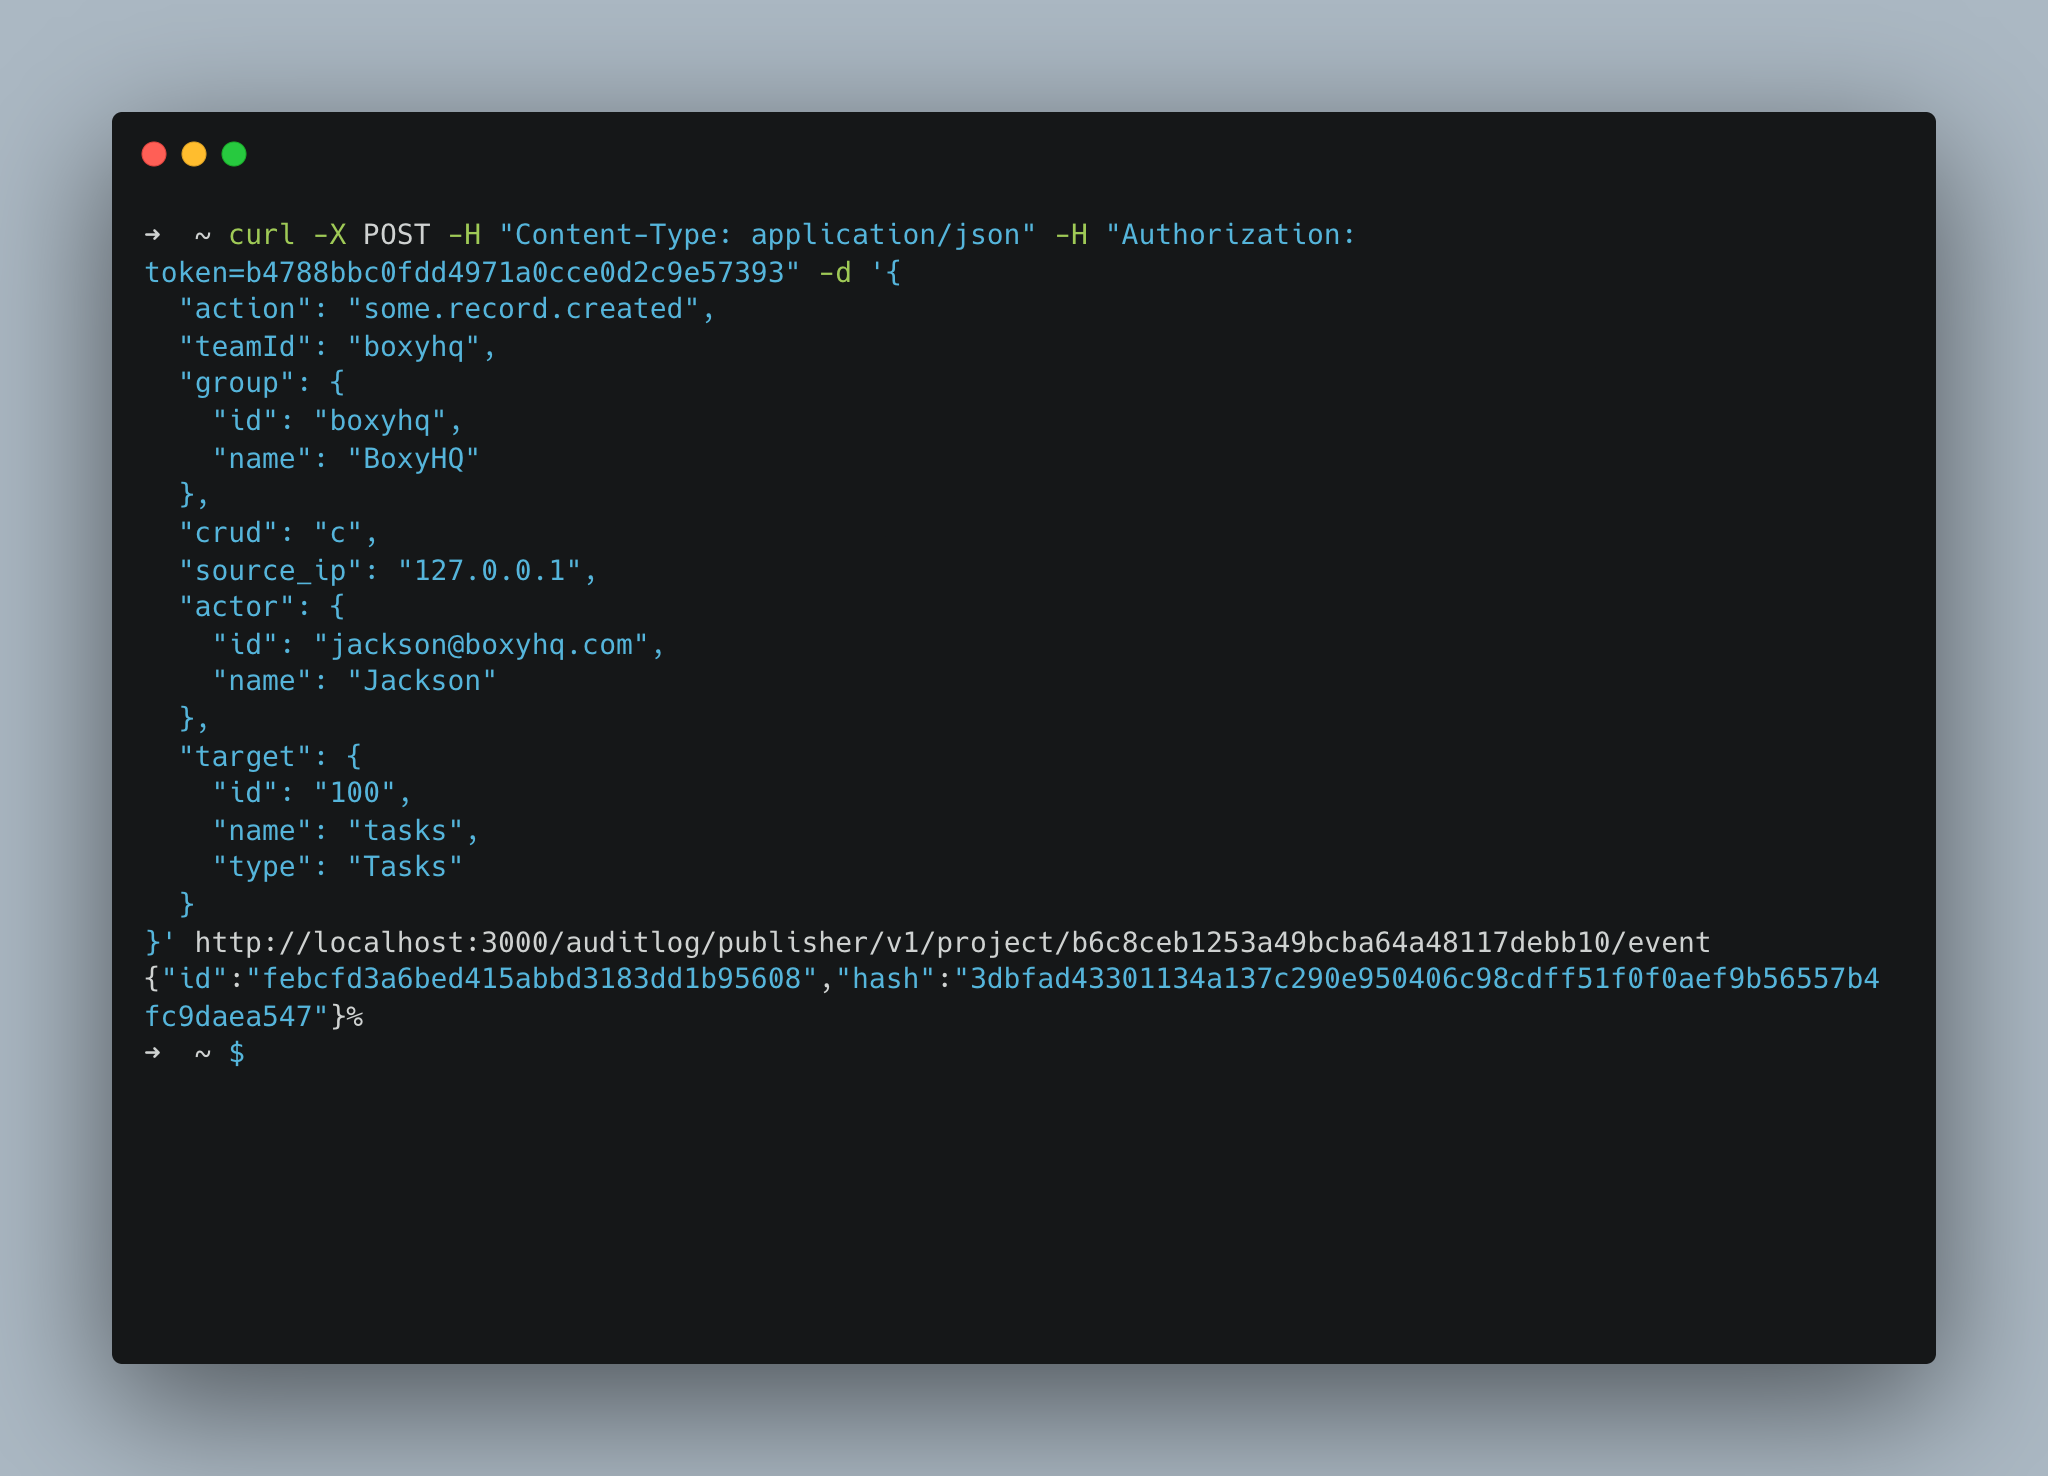
- Example CURL command to send test events
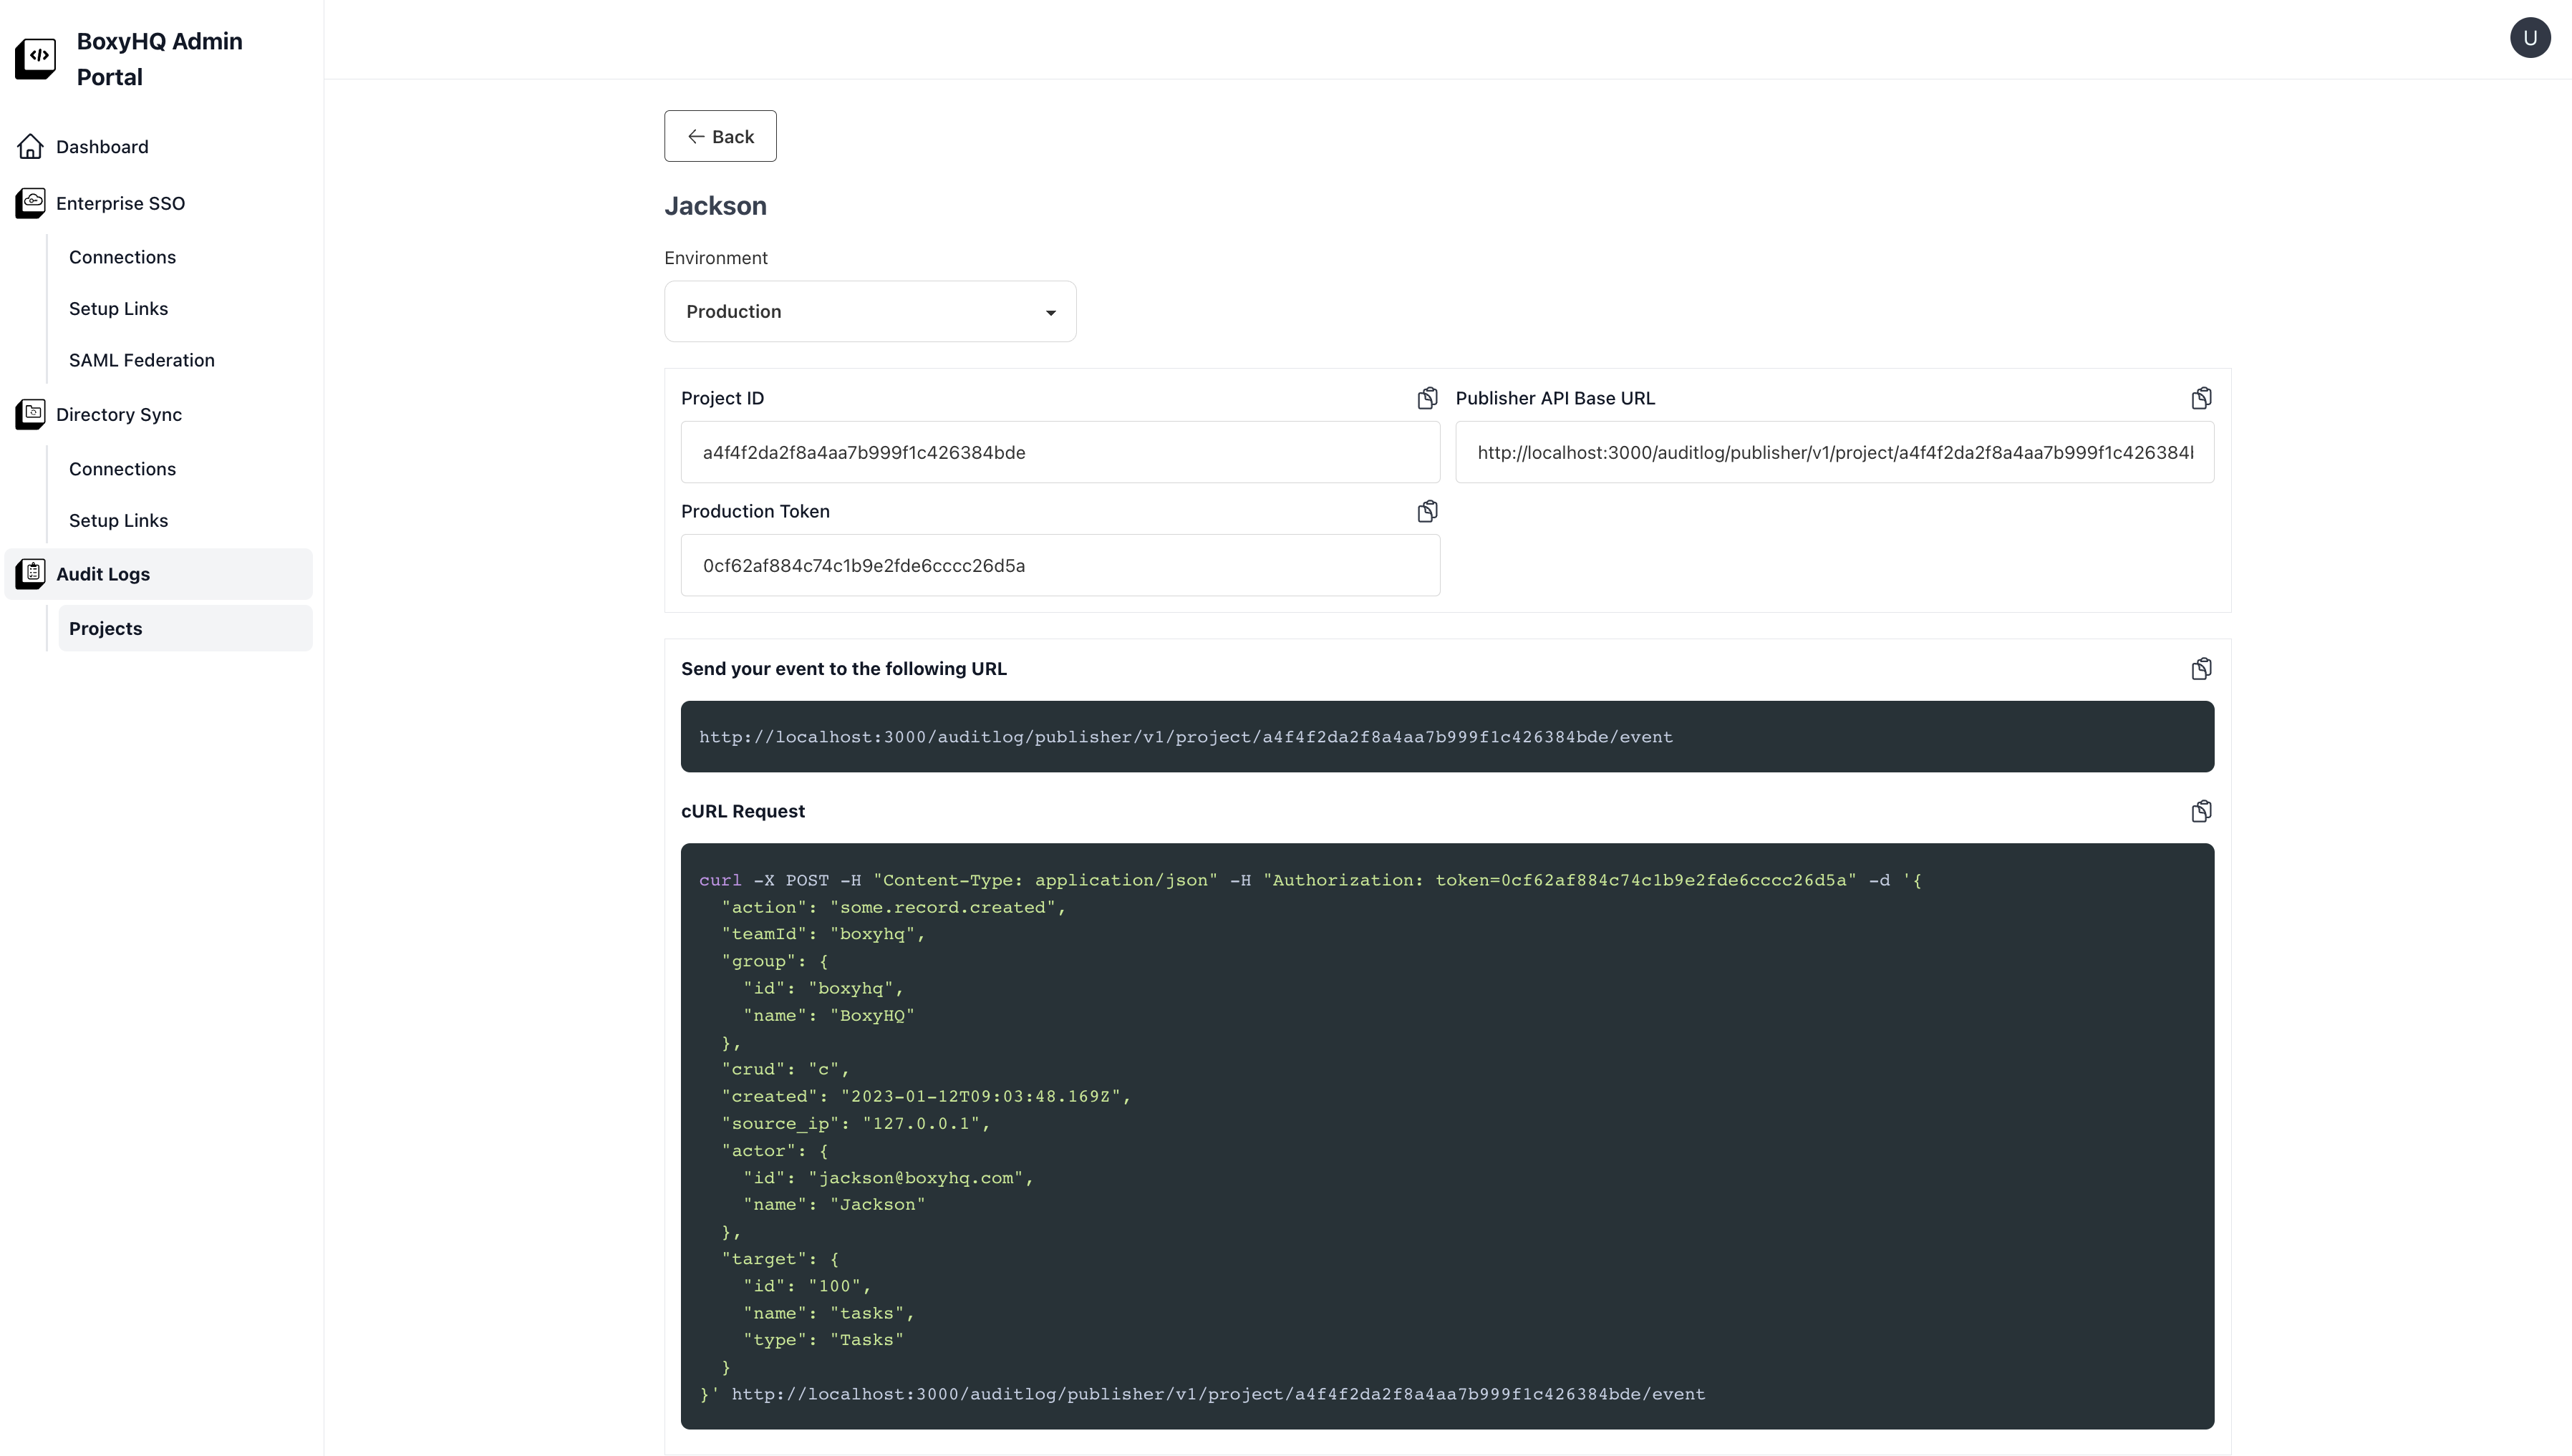
Send test event with CURL
You can copy and paste the curl command in terminal or command prompt. After execution of command you should see id & hash as output.
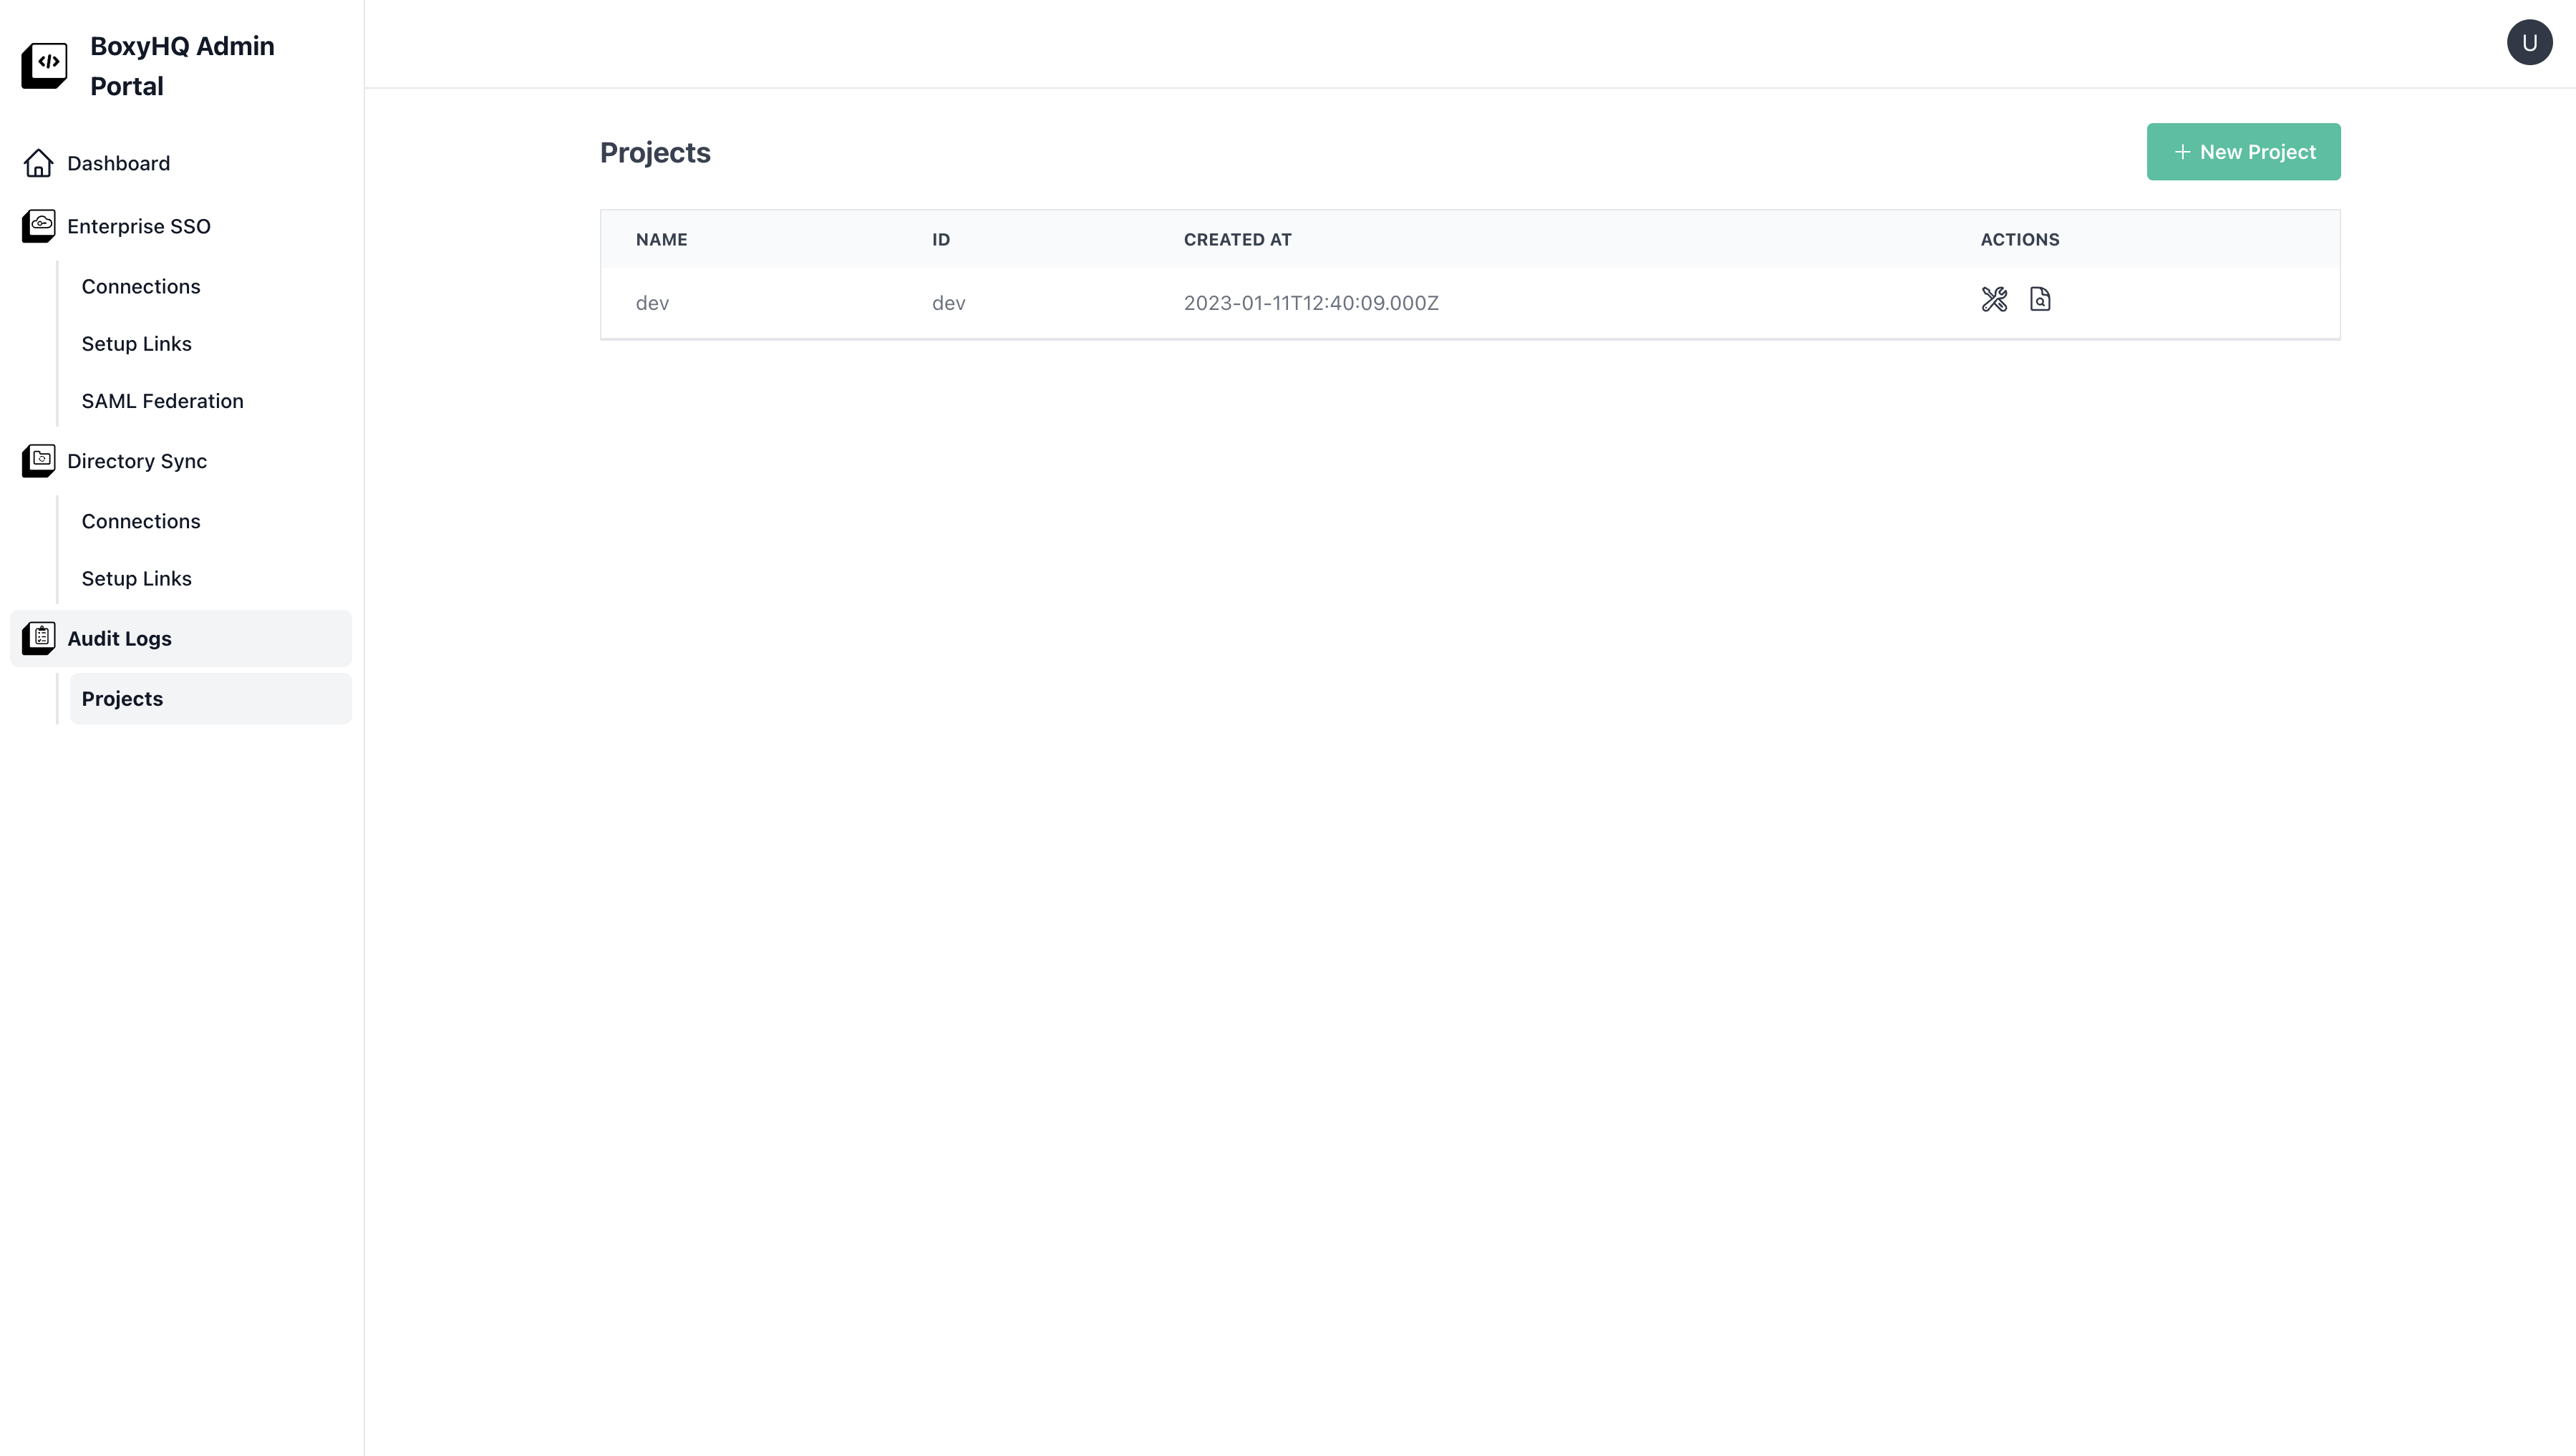
Project List
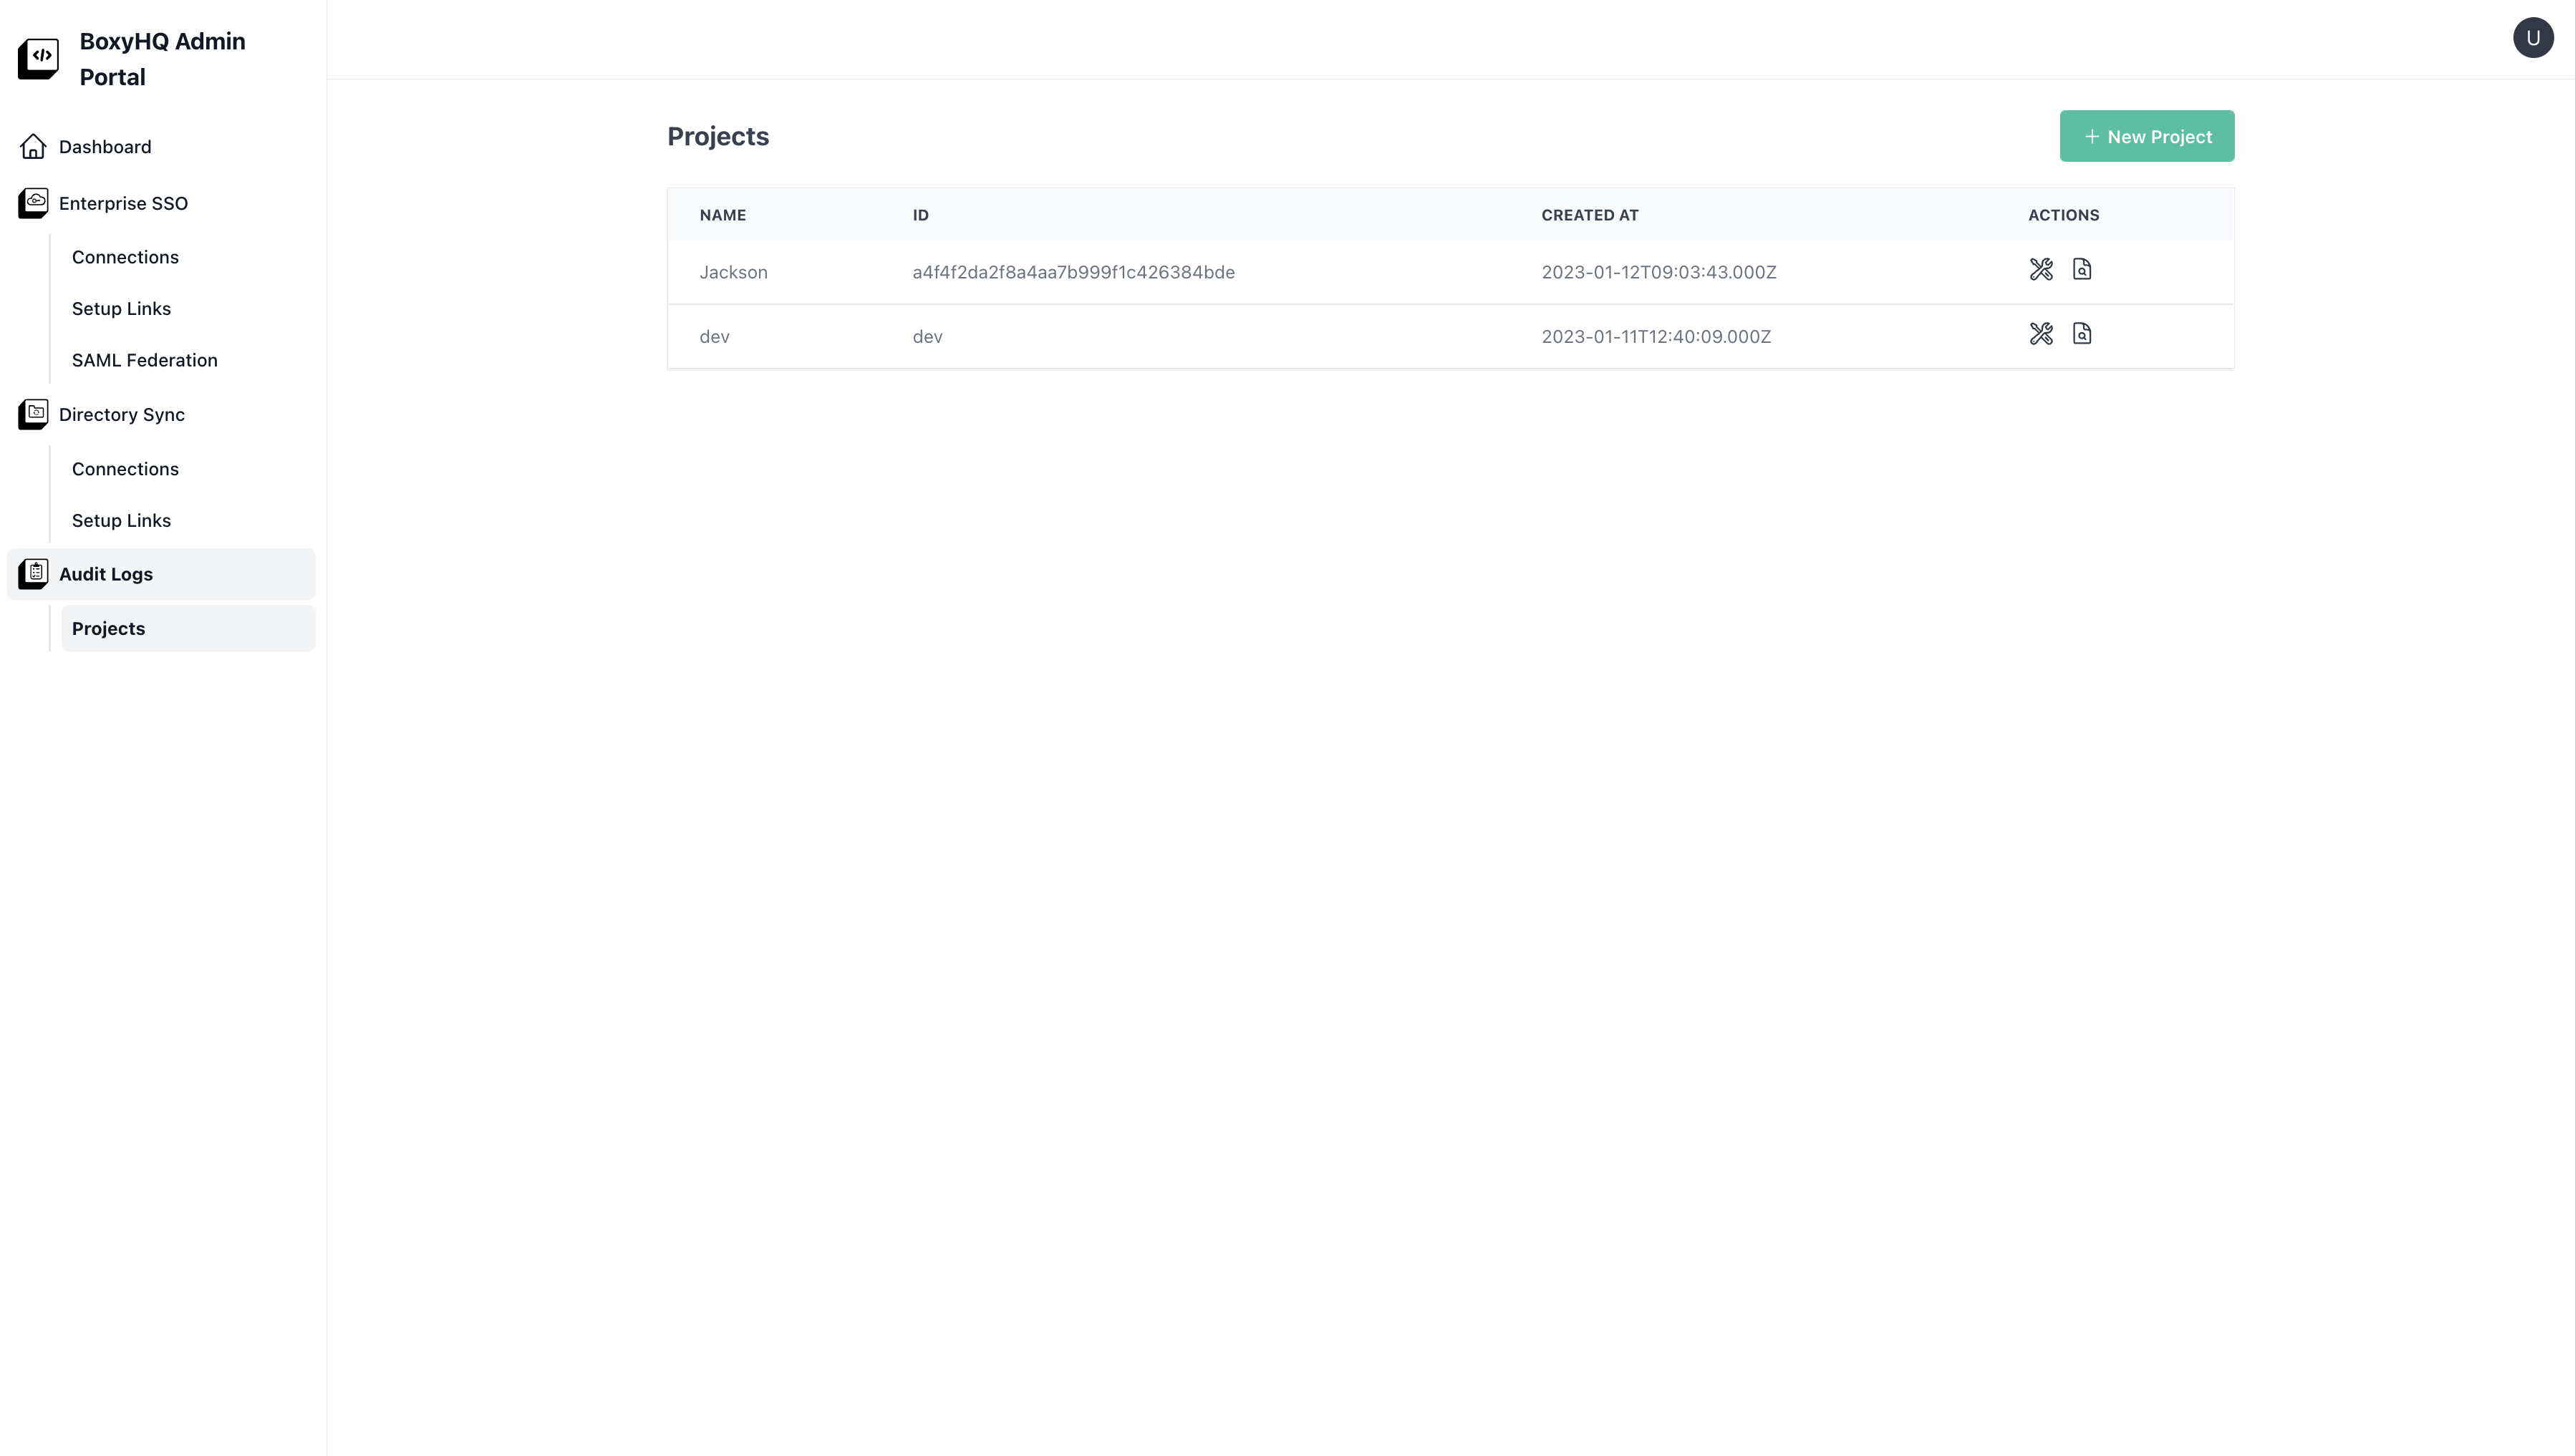
Now if you click on Audit Logs you should see newly created Project there.
You can perform following actions:
- You can click on first button under actions the tools button to open the Project Information page.
- You can click on second button under actions, the button with magnifying glass to see the logs.
Select Environment & Group
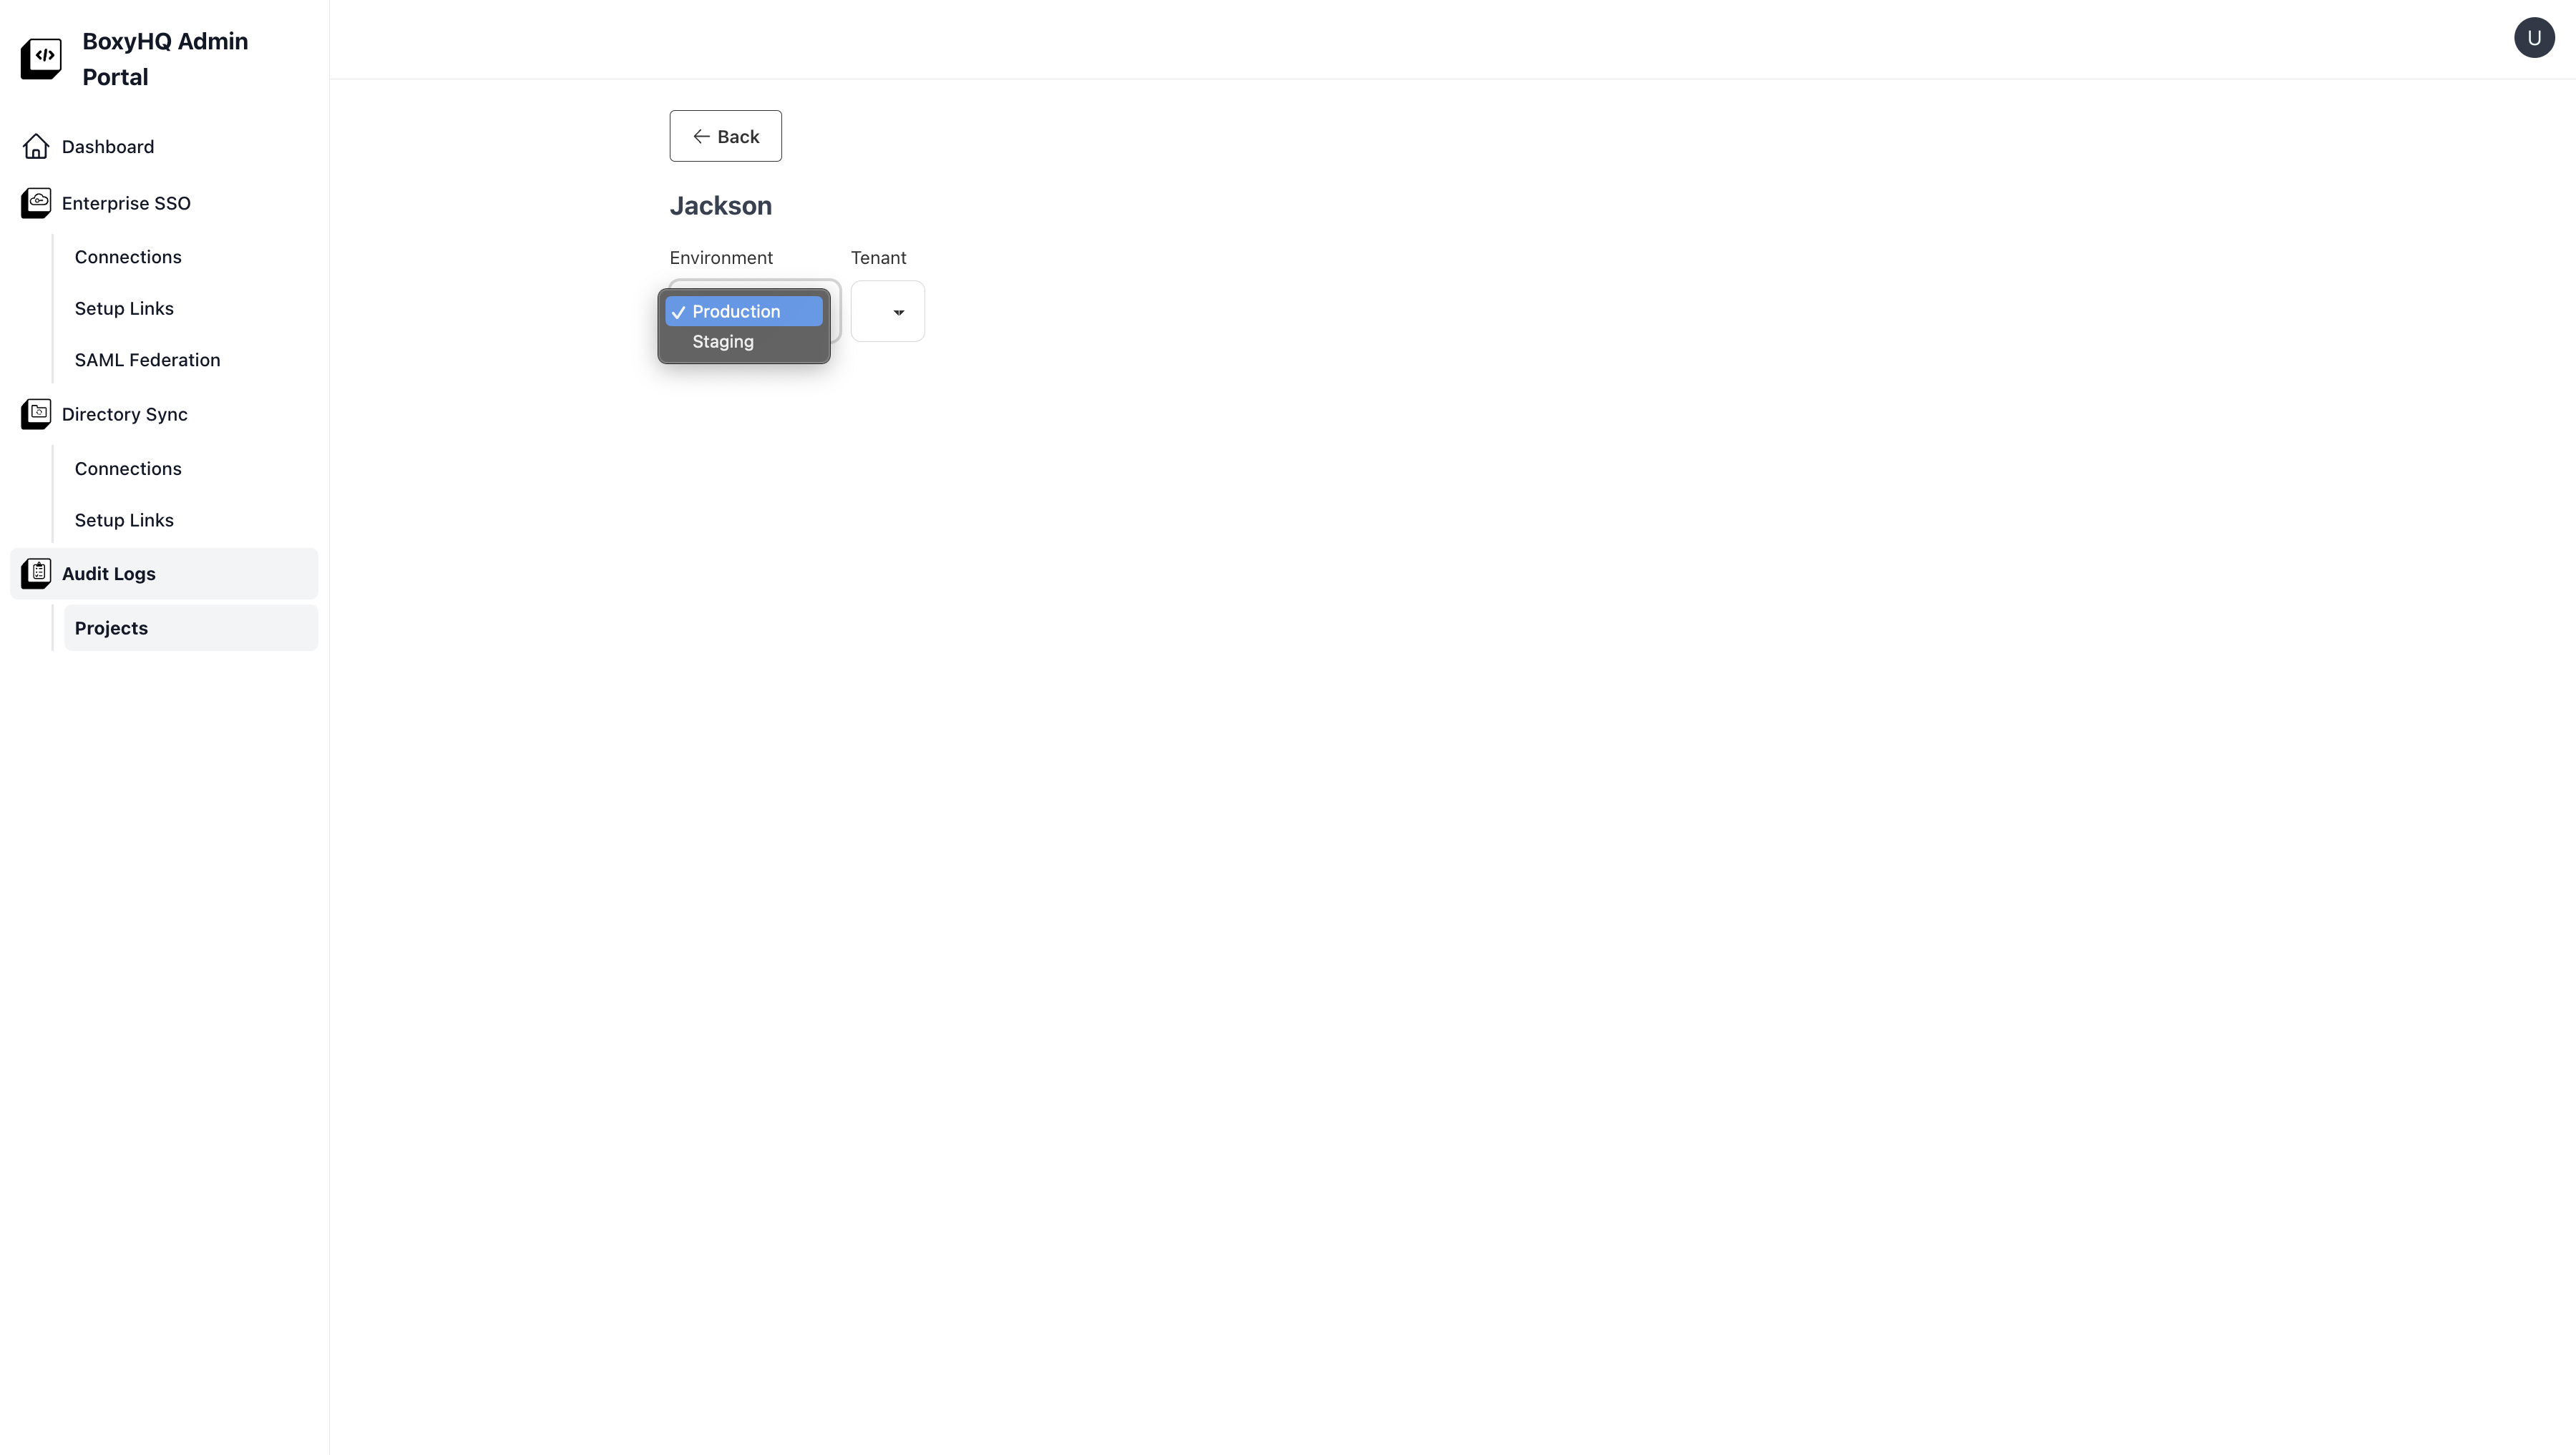
When you create a Project by default following environments are created
- Production
- Staging
Every Environment can have multiple Tenants.
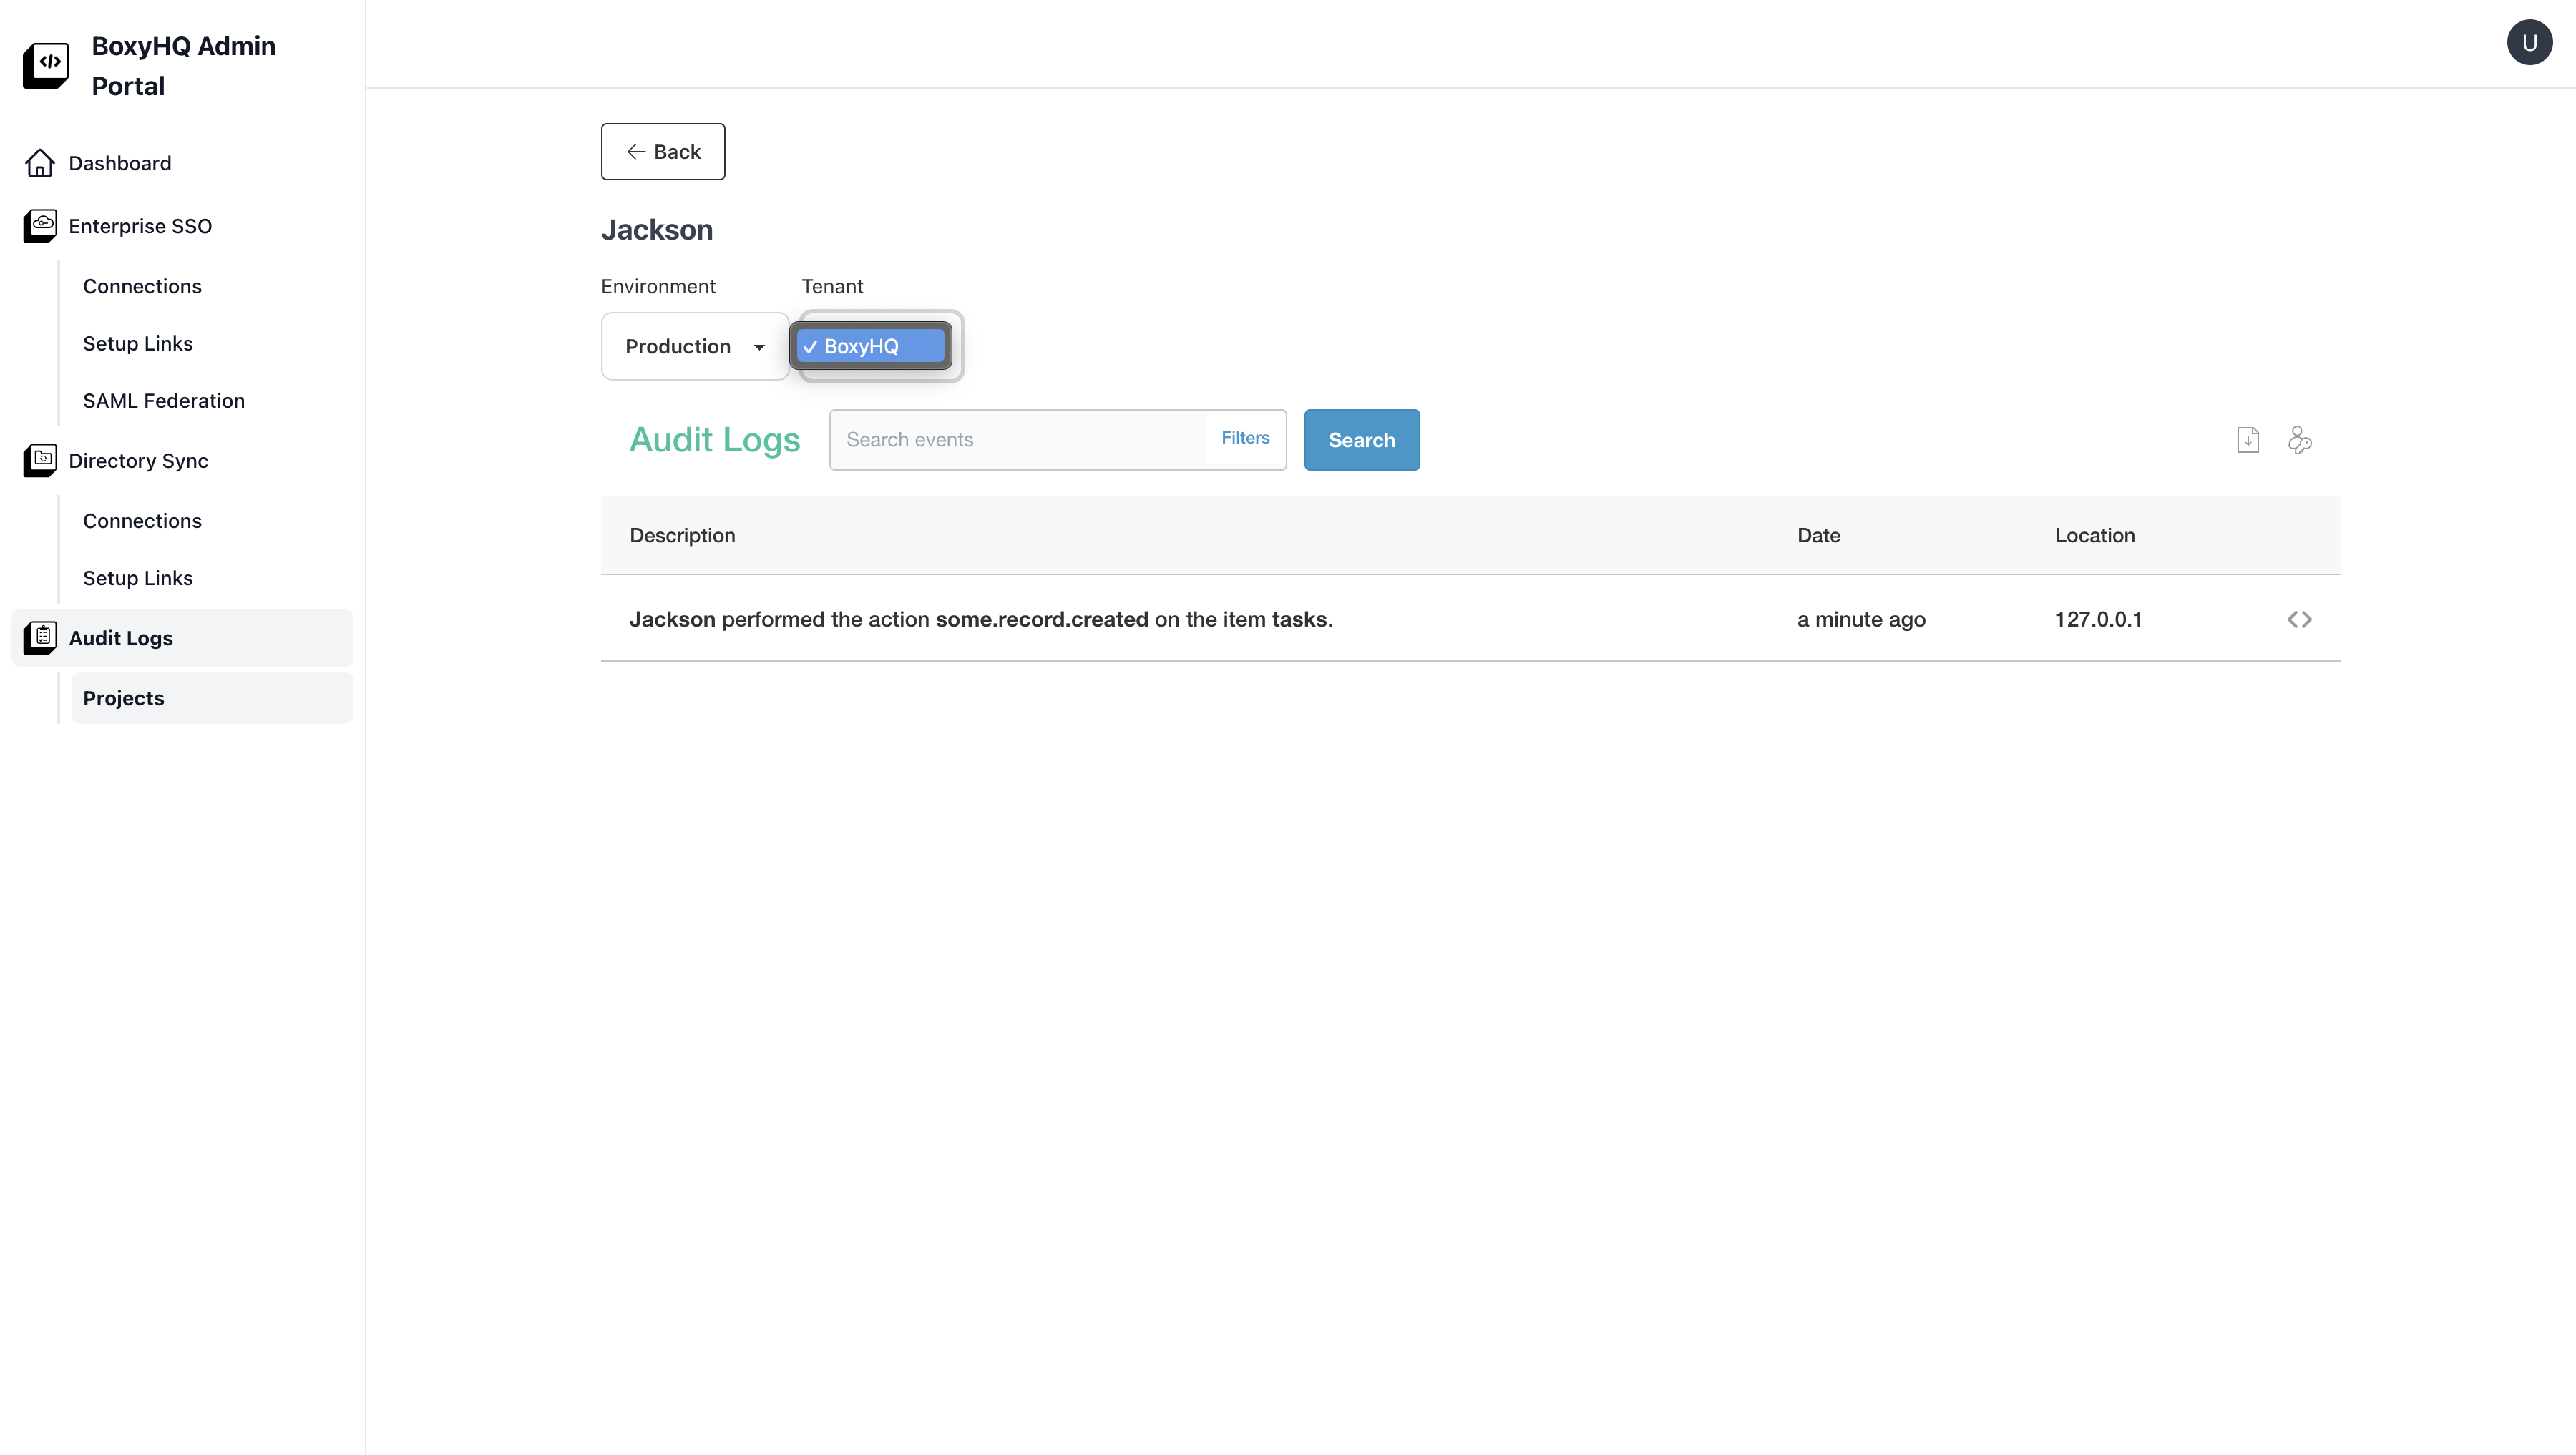
View Logs
Once you select the Environment you will see the Tenants listed in the dropdown. For this example you will see BoxyHQ listed in the dropdown for Staging Environment. Once you select the Tenant you will the logs listed down on the page.
